
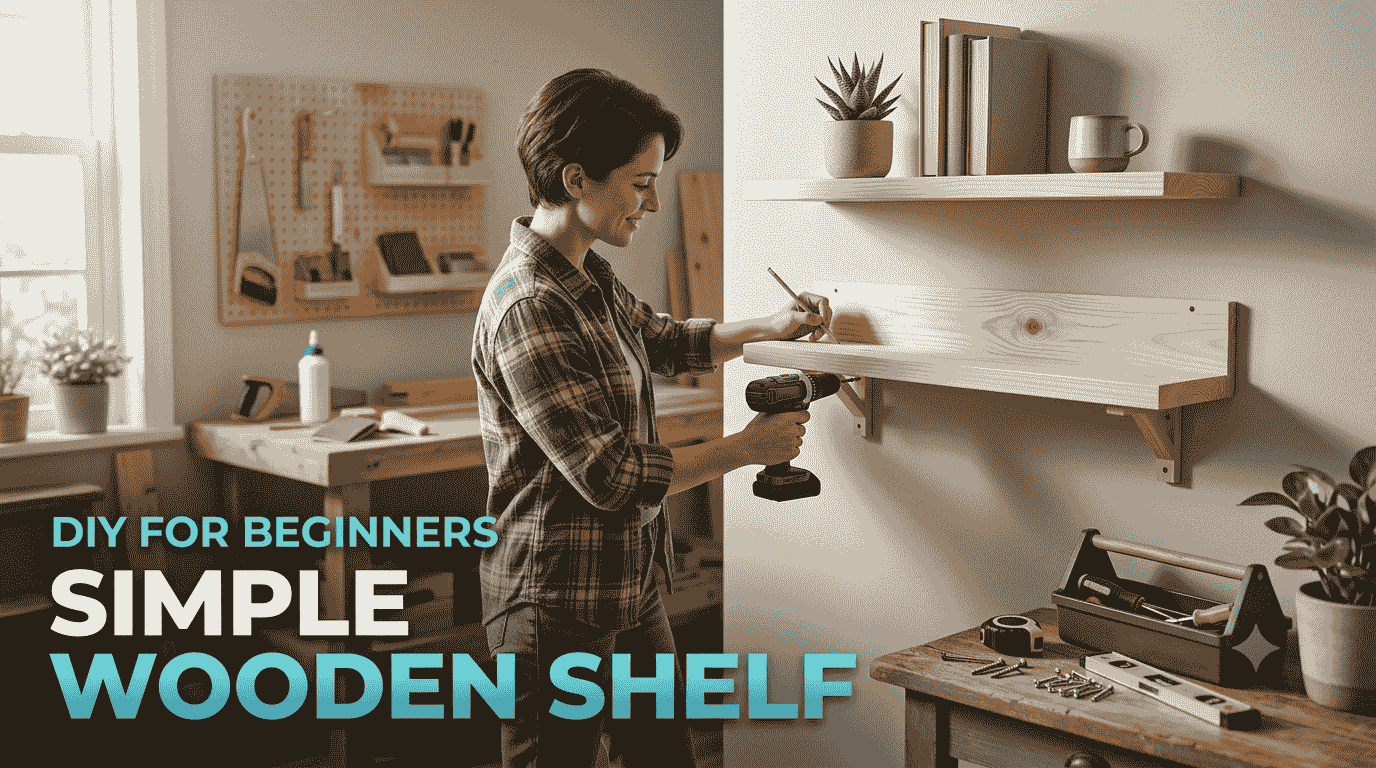
A simple wooden shelf DIY for beginners — real tools, real mistakes to expect, and a build that doesn’t require a garage full of equipment.
Simple Wooden Shelf DIY for Beginners
Somewhere around the third YouTube video, all with a guy in a flannel shirt casually operating a table saw he clearly owns eleven of, you start to wonder if “beginner” DIY is even aimed at beginners. It isn’t, usually. It’s aimed at people who already have a garage.
This isn’t that. This is a shelf you can build with a drill, a saw you can rent or borrow for twenty minutes, and a Saturday afternoon that doesn’t require owning power tools you’ll use twice a year and then feel guilty about.
What You’re Actually Building
A single floating-style wooden shelf, roughly 24 to 36 inches wide, mounted with a cleat system instead of visible brackets. That cleat detail matters more than it sounds like it should — it’s the difference between a shelf that looks handmade in a good way and one that looks handmade in a “please don’t put anything heavy on that” way.
You do not need a workshop. You need a flat surface, about two hours of actual working time, and a willingness to sand something twice because the first pass never feels like enough.
What You Actually Need
- One piece of pine or poplar board, 1×8 or 1×10, cut to your desired shelf length (most hardware stores will cut this to size for free or close to it — ask, don’t assume)
- A smaller strip of wood or plywood for the cleat, about 2 inches shorter than the shelf’s width
- Wood screws (1.5 inch works for most wall types)
- Wall anchors, unless you’re hitting a stud
- Sandpaper, 120 grit then 220 grit
- Wood stain or paint, if you want it finished rather than raw
- A stud finder — genuinely non-negotiable, more on that below
- A level, a drill, a pencil, and a tape measure
That’s it. No table saw. No router. No specialty clamps you’ll never use again.
Step One: Find Your Studs Before You Do Anything Else
This is the step people skip and the step that causes almost every shelf failure story you’ve heard. Drywall alone holds very little weight — a shelf with a few books on it can pull straight out of the wall if it’s only anchored into drywall, no matter how good the screws are.
Run the stud finder across the section of wall you’re working with, mark both edges of each stud lightly in pencil, and plan your cleat screws to land on stud centers wherever possible. If a stud doesn’t line up where you need it, heavy-duty wall anchors rated for the shelf’s expected weight are the fallback — not a shortcut, an actual solution, just not the ideal one.
Step Two: Cut and Sand
If the hardware store cut your board to length, you’re mostly skipping this step for the shelf itself — just the cleat needs cutting, which a hand saw handles fine for a single short cut.
Sand the shelf board starting with 120 grit, moving with the wood grain, not against it. It’ll feel done after one pass. It’s not. Do a second pass with 220 grit — this is the difference between a shelf that feels smooth and one that looks smooth but snags a sweater every time someone walks past it.
Round the front edges slightly with the sandpaper if you want it to feel less like a raw board and more like an actual piece of furniture. Takes about ninety seconds, changes the whole feel of the thing.
Step Three: Attach the Cleat to the Wall
Hold the cleat against the wall at your marked height, level it — actually use the level, eyeballing it is how you end up with a shelf that looks fine until you put a candle on it and watch it slowly roll to one side — and mark your screw points through the cleat into the studs.
Pre-drill the holes. Skipping this on pine specifically tends to split the wood right where you need it strongest. Screw the cleat into the wall, snug but not overtightened.
Step Four: Attach the Shelf to the Cleat
Flip the shelf upside down, center the cleat’s mirror position on the underside, and screw through from underneath so no hardware shows on top once it’s mounted. This is the part that makes it look like a floating shelf instead of an obviously bracketed one.
Lift the shelf into place over the wall-mounted cleat — some builds interlock the two pieces with matching angled cuts, but for a beginner build, screwing straight through into the cleat from below works fine and is considerably less fussy.
Step Five: Finish It However You Want
Raw wood looks fine on its own if that’s the vibe. If you’re staining, wipe on a thin coat with a rag, let it sit a few minutes, then wipe off the excess — thick coats just look blotchy and take forever to dry. Two thin coats beats one thick one nearly every time.
Let it dry fully — actually fully, not “dry to the touch” fully — before loading anything onto the shelf. Rushing this step is how you end up with a coffee mug ring permanently pressed into fresh stain.
Things That Go Wrong (So You’re Not Surprised)
- The board looks straight until it’s up on the wall and suddenly isn’t — check for a slight bow before you buy it, sighting down the length of the board like a pool cue
- Pre-drilled holes that are slightly off from the stud finder markings — a small margin of error is normal, just double-check with a stud finder pass after cleat installation, before loading weight on
- Stain drying darker or lighter than the can photo — always test on a scrap piece or the underside first, the actual wood grain changes how color takes far more than people expect
None of these mean you did it wrong. They mean you did a first build, which is a different thing.
What This Shelf Can Actually Hold
A properly cleat-mounted shelf into studs with standard screws typically holds 20 to 30 pounds without issue — enough for books, plants, small decor, a modest speaker. If you’re planning something heavier, like a stack of hardcover books or anything approaching gym-equipment territory, size up your screws and confirm you’re hitting studs at every mounting point, not just some of them.
FAQ
Do I need power tools to build a simple wooden shelf?
Just a drill, really. A hand saw works if the board isn’t pre-cut. A table saw or circular saw speeds things up but isn’t required for a single shelf.
How do I mount a shelf without brackets showing?
Use a cleat system — a strip of wood screwed to the wall, with the shelf screwed to it from underneath so no hardware is visible on top.
Can I mount a shelf without hitting a stud?
You can with heavy-duty rated wall anchors, but studs are stronger and preferred whenever the layout allows it.
How much weight can a basic wooden shelf hold?
A cleat-mounted shelf into wall studs typically holds 20 to 30 pounds comfortably with standard hardware.
What wood is best for a beginner shelf?
Pine or poplar are both affordable, easy to cut and sand, and forgiving for a first project.